When it comes to working successfully with epoxy resin, the old saying "use the right tools for the job" is true. Each resin tool is used for a specific purpose, so it's important to use the correct tools and to use them correctly to save you valuable time, effort and money. If you're new to working with resin, however, you might not know where to begin:
- What resin art supplies should a beginner get?
- Which resin tools are essential vs optional?
- Where do I buy resin tools?
- Do I need to spend a lot of money on art resin supplies?
The good news is that beginner resin art supplies are easily found at your local hardware store or online. In fact, you may already have some of them around the house. Here are the essentials you need to get started with epoxy resin:
List Of Resin Art Supply Essentials For Beginners
1. ArtResin
2. Disposable Gloves
3. Apron/Old Clothes
4. Plastic Drop Sheet
5. Masking Tape
6. Plastic Stands
7. Level
8. Plastic Container For Water Bath
9. Plastic Measuring Cup
10. Plastic Stir Stick
11. Plastic Spreader
12. Maker's Studio Torch
13. Toothpicks
14. Dust Cover
15. Alcohol and Paper Towel
16. Hand Cleaner
Browse our Resin Art Accessories & Tools.
The importance of plastic resin tools:
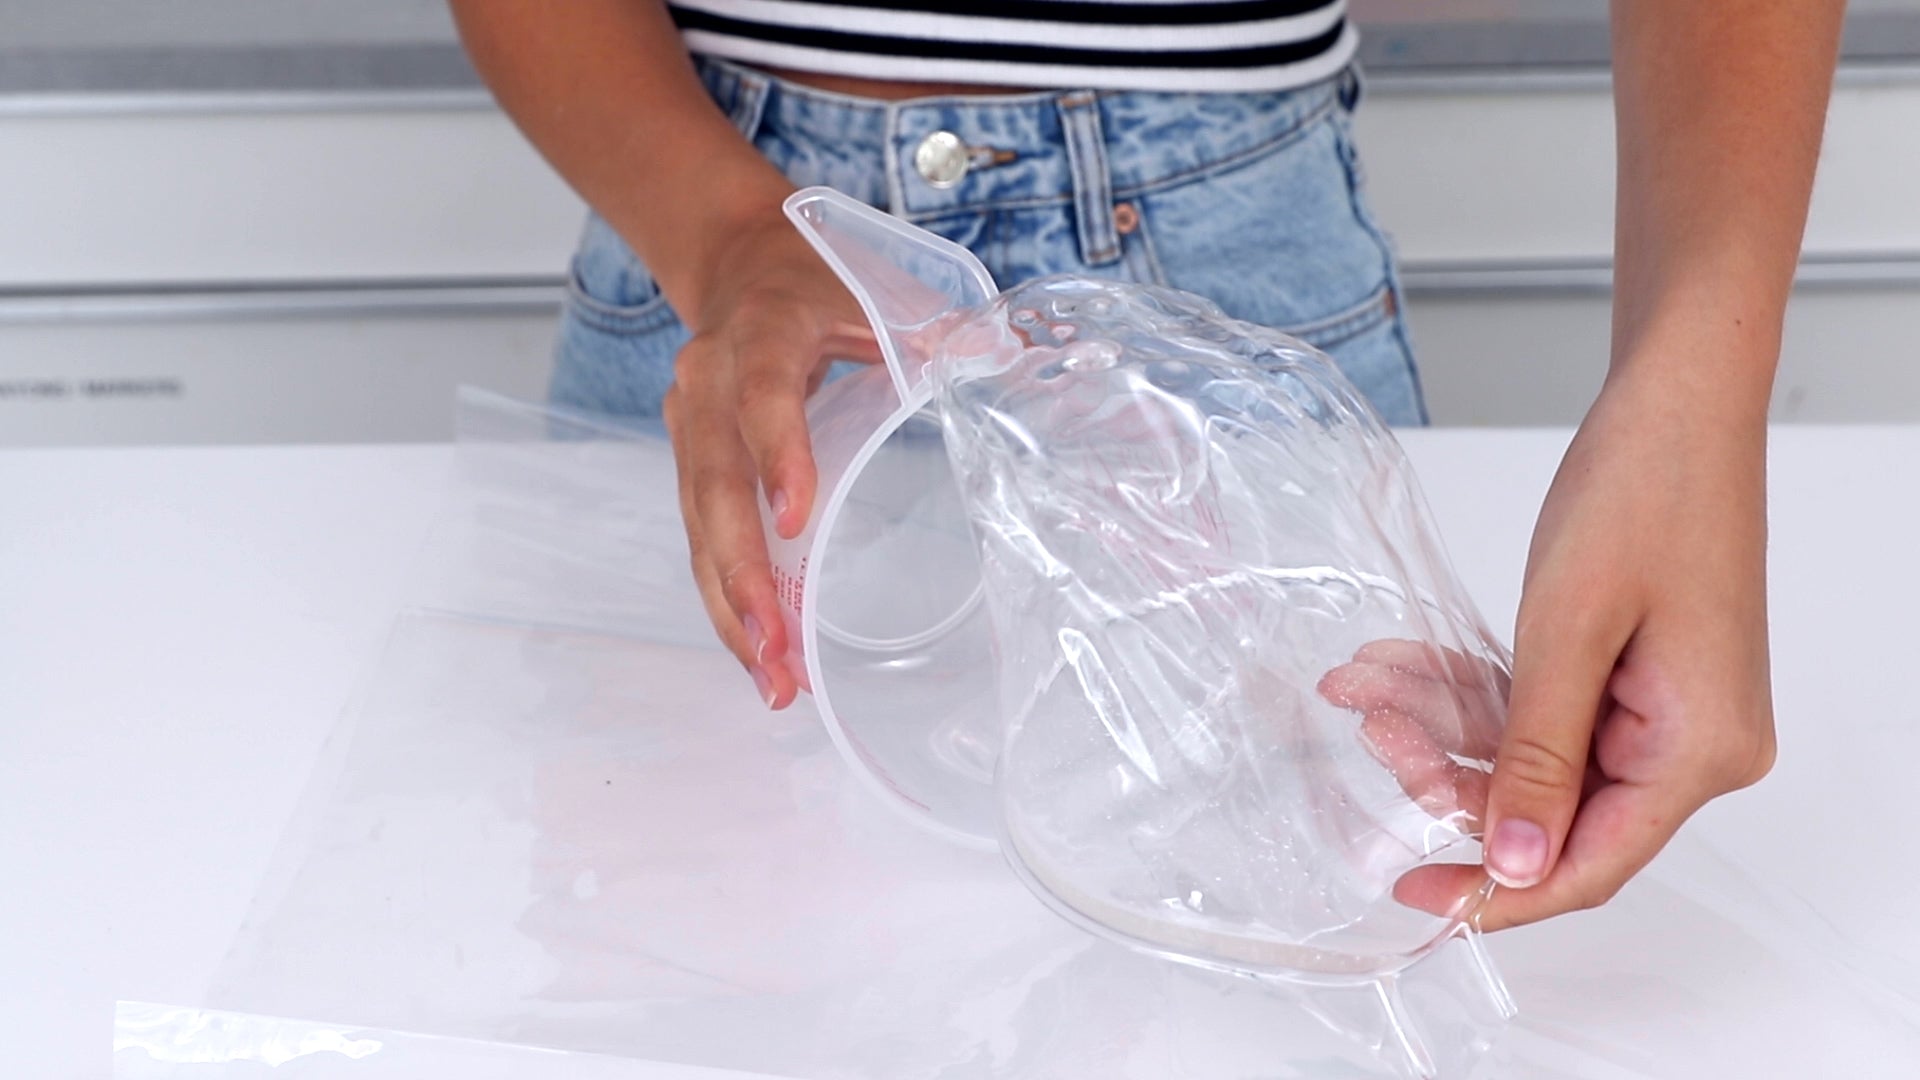
From stir sticks to spreaders to plastic drop sheets, we recommend plastic tools when working with resin for good reason: epoxy resin doesn't adhere to plastic which makes cleaning up a breeze (and who doesn't like easy clean up?)
You have two choices when it comes to cleaning off plastic resin tools:
- Spritz wet tools with isopropyl alcohol and wipe dry with a paper towel. Repeat this step to remove all traces of resin. When there is no more resin residue, wash tools in hot soapy water and allow to dry thoroughly before using them again.
- Lay wet tools on a plastic surface overnight and allow the resin to cure. The next day, the resin will peel right off.
Either way, you can use plastic tools over and over again making them a smart choice when working with resin.
The importance of clean & dry resin tools:
Having the right tools for the job is essential, but equally important is that your resin tools must be both clean and dry:
-
dirty tools will contaminate resin with dust, bits of cured resin from previous projects and, if solvents or oily substances are introduced into the mixture, can even prevent the resin from curing properly.
- water can cause a cloudy cure in resin so ensure that all tools, measuring containers, your work surface and the object you are resining are thoroughly dry.
Read our guide on how to clean resin accessories & tools.

Need To Haves: Resin Art Tool & Supply Essentials
When you're starting out with epoxy resin crafts, you may want to get the feel of it with something simple, like applying a coat of resin to a piece of artwork. There are a handful of basic (but necessary) tools when working with epoxy resin. Let's take a closer look at the supplies you need to use when applying epoxy resin as a surface coating:
1. ArtResin Epoxy Resin
ArtResin epoxy resin products are available in multiple sizes from 16 oz to 10 gallons, depending on the size of your project. Not sure how much you need? Simply enter your dimensions into ArtResin's Resin Calculator and it will tell you exactly how much resin you need and which kit to buy.
💡A Note About Respirators: You may have heard that wearing a respirator is necessary when working with epoxy resin. For many resin brands on the market this is true. ArtResin, however, has been tested by a toxicologist and was found to be a clean system, meaning everything in the formula reacts, leaving no VOCs or noxious fumes that can become airborne and breathed in. As a result, ArtResin was found to conform to ASTM D-4236 with no component of its make-up having been found to be harmful, toxic, hazardous or dangerous when used as directed! This means you do not need to use a respirator when using ArtResin in a well-ventilated area. You can read more about our ASTM D-4236 certification here.

2. Gloves
Protect your hands with disposable gloves. In its liquid form, ArtResin is sticky and a pair of gloves protects your hands from a mess as well as possible skin irritation. Ensure you have several pairs of gloves on hand when working with resin. We like to use nitrile gloves - they are similar to latex but a lot stronger and with none of the allergenic compounds commonly associated with latex. You can find nitrile gloves as part of our Accessory Kit or at your local hardware store.

3. Apron/Old Clothes
Protect your clothing from resin drips by wearing an apron, a smock, or old clothes while you work. Resin is very difficult to remove from clothing. If you have long hair, throw it up in a ponytail to keep the resin out of your hair and your hair out of your resin.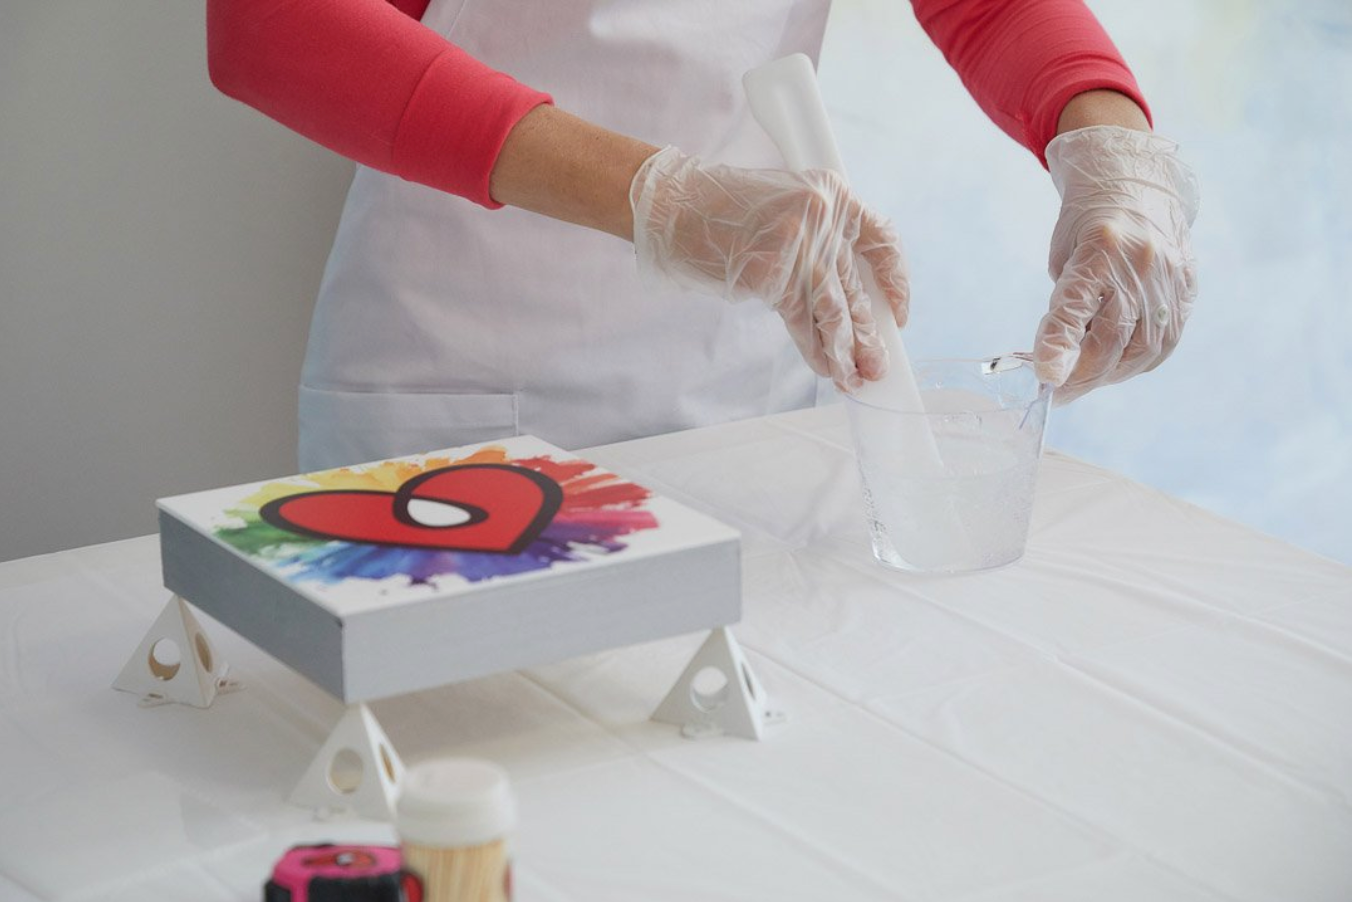
4. Plastic Drop Sheet:
Protect your work surface and your floor from resin drips or spills with a plastic drop sheet. A clear, smooth vinyl shower curtain makes an inexpensive, sturdy liner that can be reused again and again: resin drips can either be wiped clean with paper towel and isopropyl alcohol or, if allowed to dry, can be peeled off the next day. For smaller projects, kitchen parchment paper works very nicely.

5. Masking Tape
Tape off the bottom of your artwork to catch drips: if you want to resin the sides of your piece, tape off the bottom of your piece with good quality painter's tape. As gravity pulls the resin down the sides, drips will start to accumulate along the bottom. The tape will catch these drips and once the resin is dry to the touch, pull the tape off and the drips right along with it.
💡TIP: If you plan to allow the ArtResin to dome (that is, sit on top of your artwork without going over the sides) you can tape off the bottom for a little extra insurance in case the resin spills over the edges. Learn more about doming in our blog What Is Doming Resin? 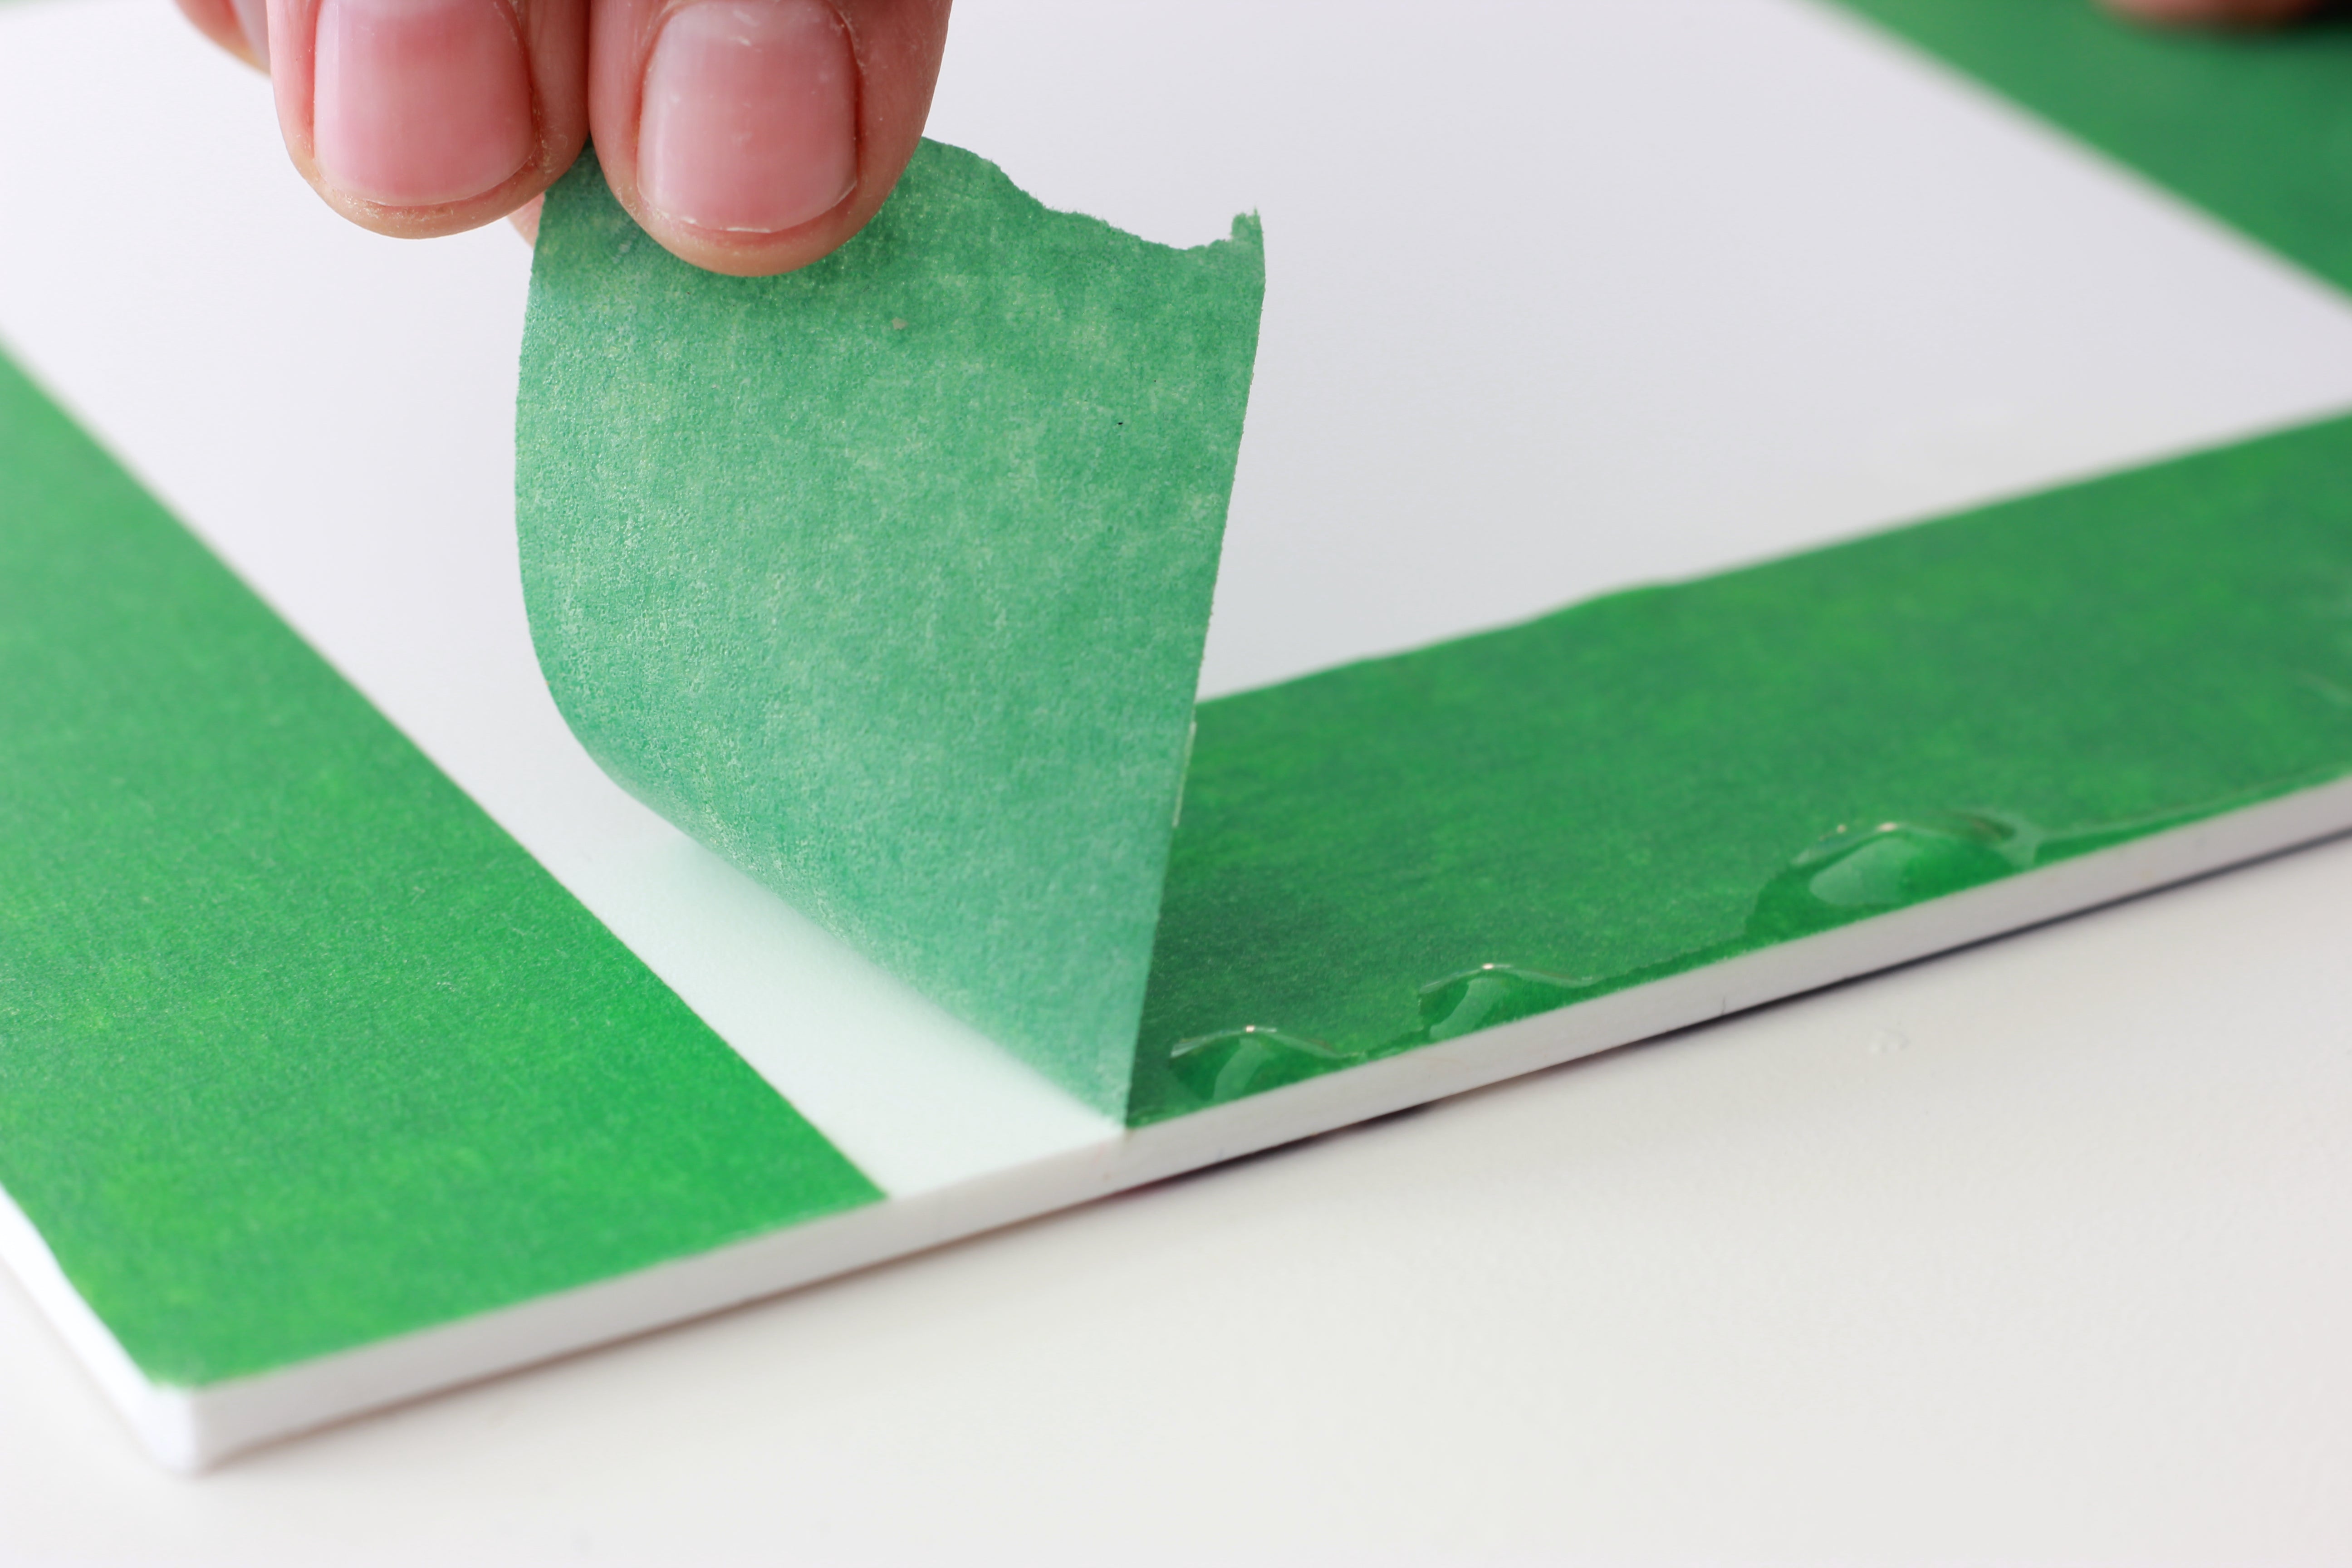
6. Stands
Propping your piece up on plastic stands allows excess resin to pool on the plastic lined work surface. We like using painter's pyramid stands here at ArtResin - you can find these in the paint section of any hardware store or you can buy them as part of our Accessory Kit. Plastic shot glasses or large toy building blocks also work well - both can be found at the dollar store.
7. Level
Ensure your work is perfectly horizontal by checking it with a traditional level or with ArtResin's mobile phone level: www.artresin.com/level. Since epoxy resin self-levels, it will run off the sides at the lowest point if your piece is slanted.

8. Container For Water Baths
If your resin is cold, a warm water bath will bring it up to room temperature making the resin easier to work with. It's best to use a narrow container with tall sides to prevent the bottles from tipping over. Fill it halfway with warm water, about as warm as you’d use for a baby’s bath, and let the tightly capped bottles sit for about 10-15 minutes. Dry the bottles off thoroughly before you open them to measure and mix.

9. Stir Stick
The best stir stick for resin is one with a flat side: under mixed resin will not cure properly so it's important to scrape the sides and bottom of the container as you stir so that every last bit of resin and hardener are combined. A stir stick with a flat side can scrape the container much more effectively than something rounded, like a spoon. You can use wood craft sticks/tongue depressors but these must be disposed of after each use. Our favourite re-usable, plastic stir stick, pictured below, is available in our Accessory Kit.

10. Mixing Container
Measure and mix your resin in a plastic, graduated measuring jug: inaccurately measured resin and hardener will not cure so it's important to use a cup with well marked lines to avoid guesstimating. It doesn't matter if you measure the resin first or the hardener, as long as both parts are precisely equal amounts. Choose a mixing cup made of polypropylene plastic - when you're finished, place your cup upside down on a plastic lined surface, and let the resin pool. The next day, when the resin is cured, peel it off and you can use your cup again.

11. Spreader
Use a plastic spreader with a flat edge to guide the resin: epoxy resin will naturally self-level after you pour it, but a flat plastic spreader distributes it evenly over your piece. ArtResin's spreader, available in our Accessory Kit, has three different jagged edges to allow you to control the volume of resin you're spreading.

If you only wish to apply ArtResin to a specific area of your piece, you can use a popsicle stick, a toothpick or an old paintbrush to place it where you want it.
💡 TIP: Learn more about this technique in our blog What Is Selective Embellishment?
If you'd like to let the resin sit neatly in a dome on top of your artwork without going over the sides, a small spatula or a plastic take out knife works very nicely to nudge the resin right to the edge without spilling over.
💡 TIP: Learn more in our blog What Is Doming Resin?
If you'd like to apply resin to the sides of your piece, you can use your gloved hands or a foam brush. 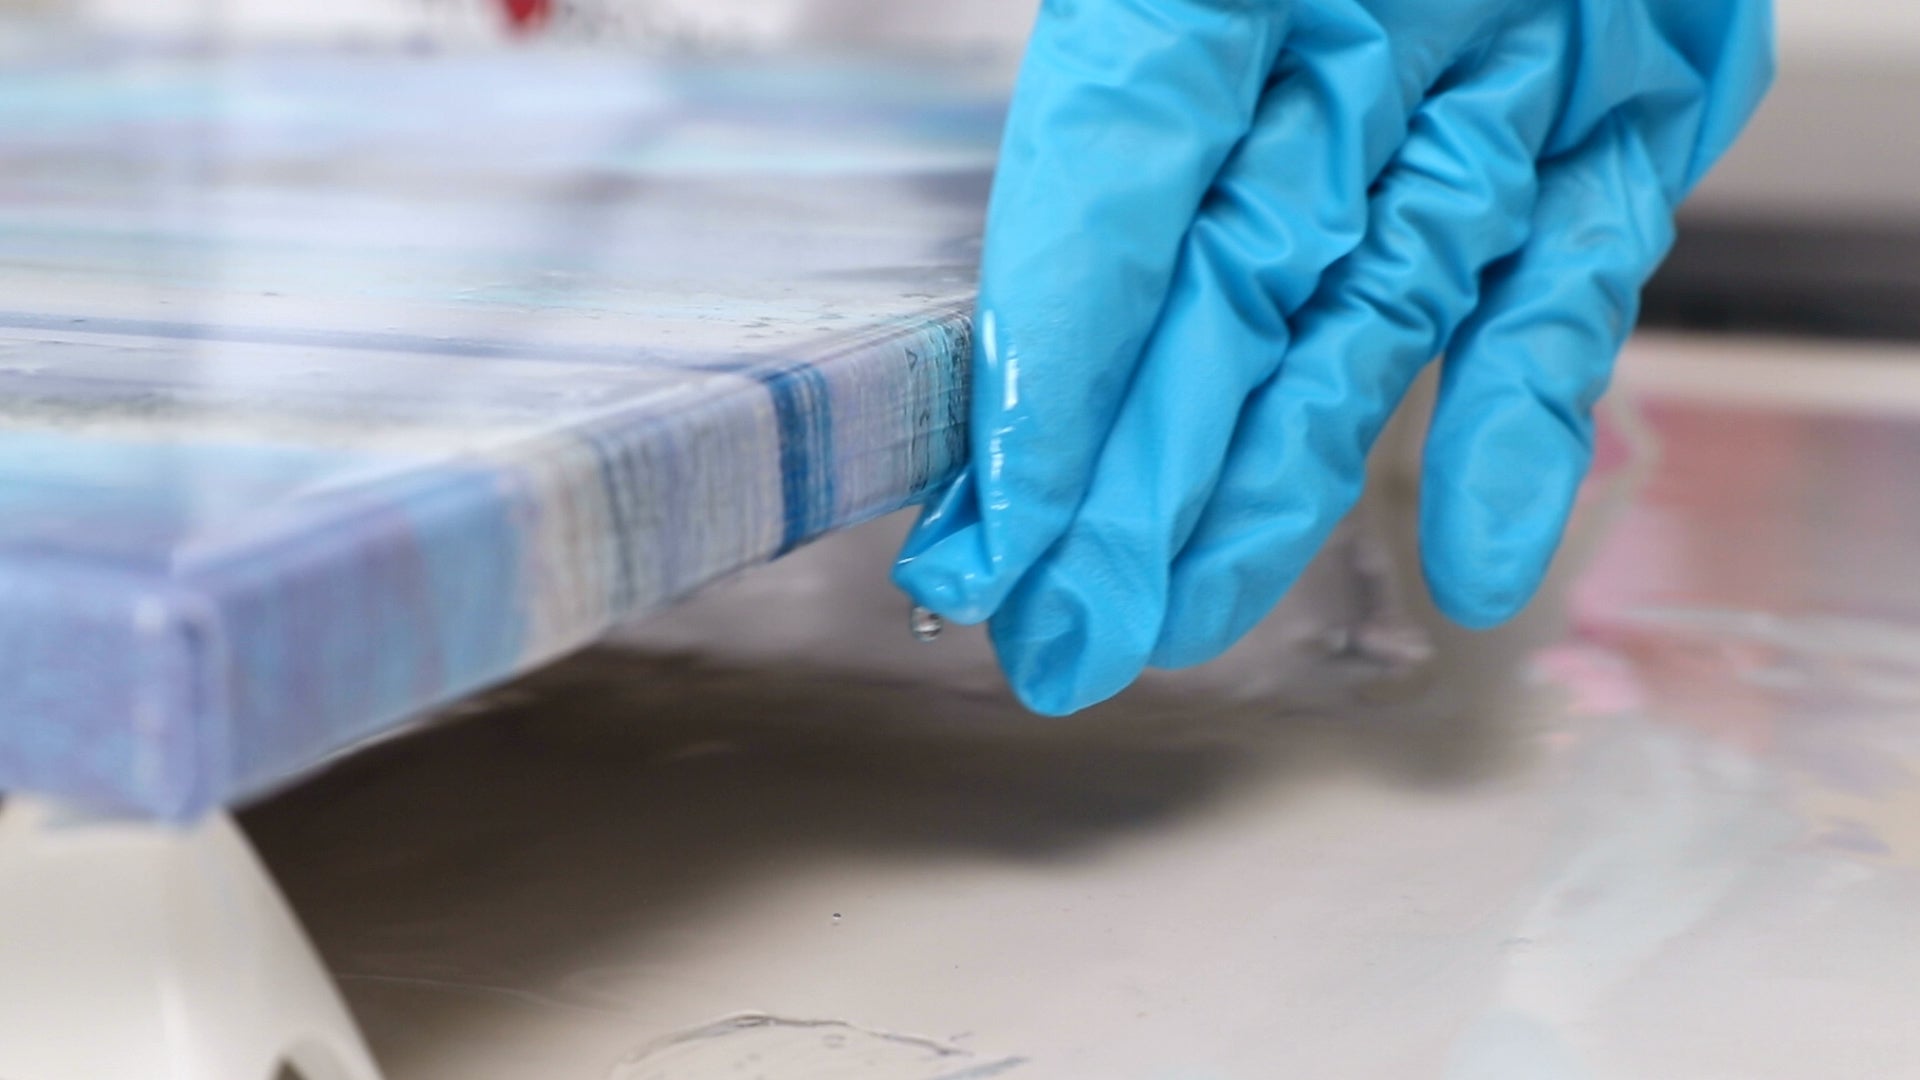
12. Torch
A flame torch is the best way to achieve a flawless, bubble free, finish. Mixing resin creates a lot of bubbles and these need to be removed or they will cure in the resin. Blowing them out through a straw or poking them with a toothpick are not effective. Hairdryers don't get hot enough, will blow your resin around and will introduce dust. A heat gun is a good option when working with silicone molds or resin that contains alcohol ink.
For most resin work, nothing beats a flame torch to get rid of bubbles.
A small butane torch like our Maker's Studio Torch works nicely for most projects (with the exception of liquid alcohol ink dropped into liquid resin. Alcohol is flammable, in which case, use a heat gun.) For larger pieces, a propane torch can't be beat! Butane and propane tanks can be found at any hardware store.
💡TIP: If you're nervous to use a flame torch, please don't be. Once you've used one, you'll wonder how you ever did without it! You can read more about the benefits of using torches in our blog Why Use A Torch To Get Rid Of Bubbles?

13. Toothpicks
Toothpicks are indispensable when working with resin: after you've torched your piece, look at the resin art at eye level under a light source, using your toothpick to pop stray bubbles or to fish out bits of dust or hair. They are handy if you want to nudge small amounts of resin around or to place inclusions like gold flake or gems exactly where you want them.
14. Dust Cover
Have a dust cover ready before you start to resin: you never want to leave your freshly resined art exposed while you look for a cardboard box or plastic tote. Ensure the cover is clean of any dust that could drop into the wet resin. We like plastic totes because they're easy to wipe out. You can use a cardboard box as long as you remove the flaps - you don't want to find the next day that a flap has dropped and cured into your resin (... true story!).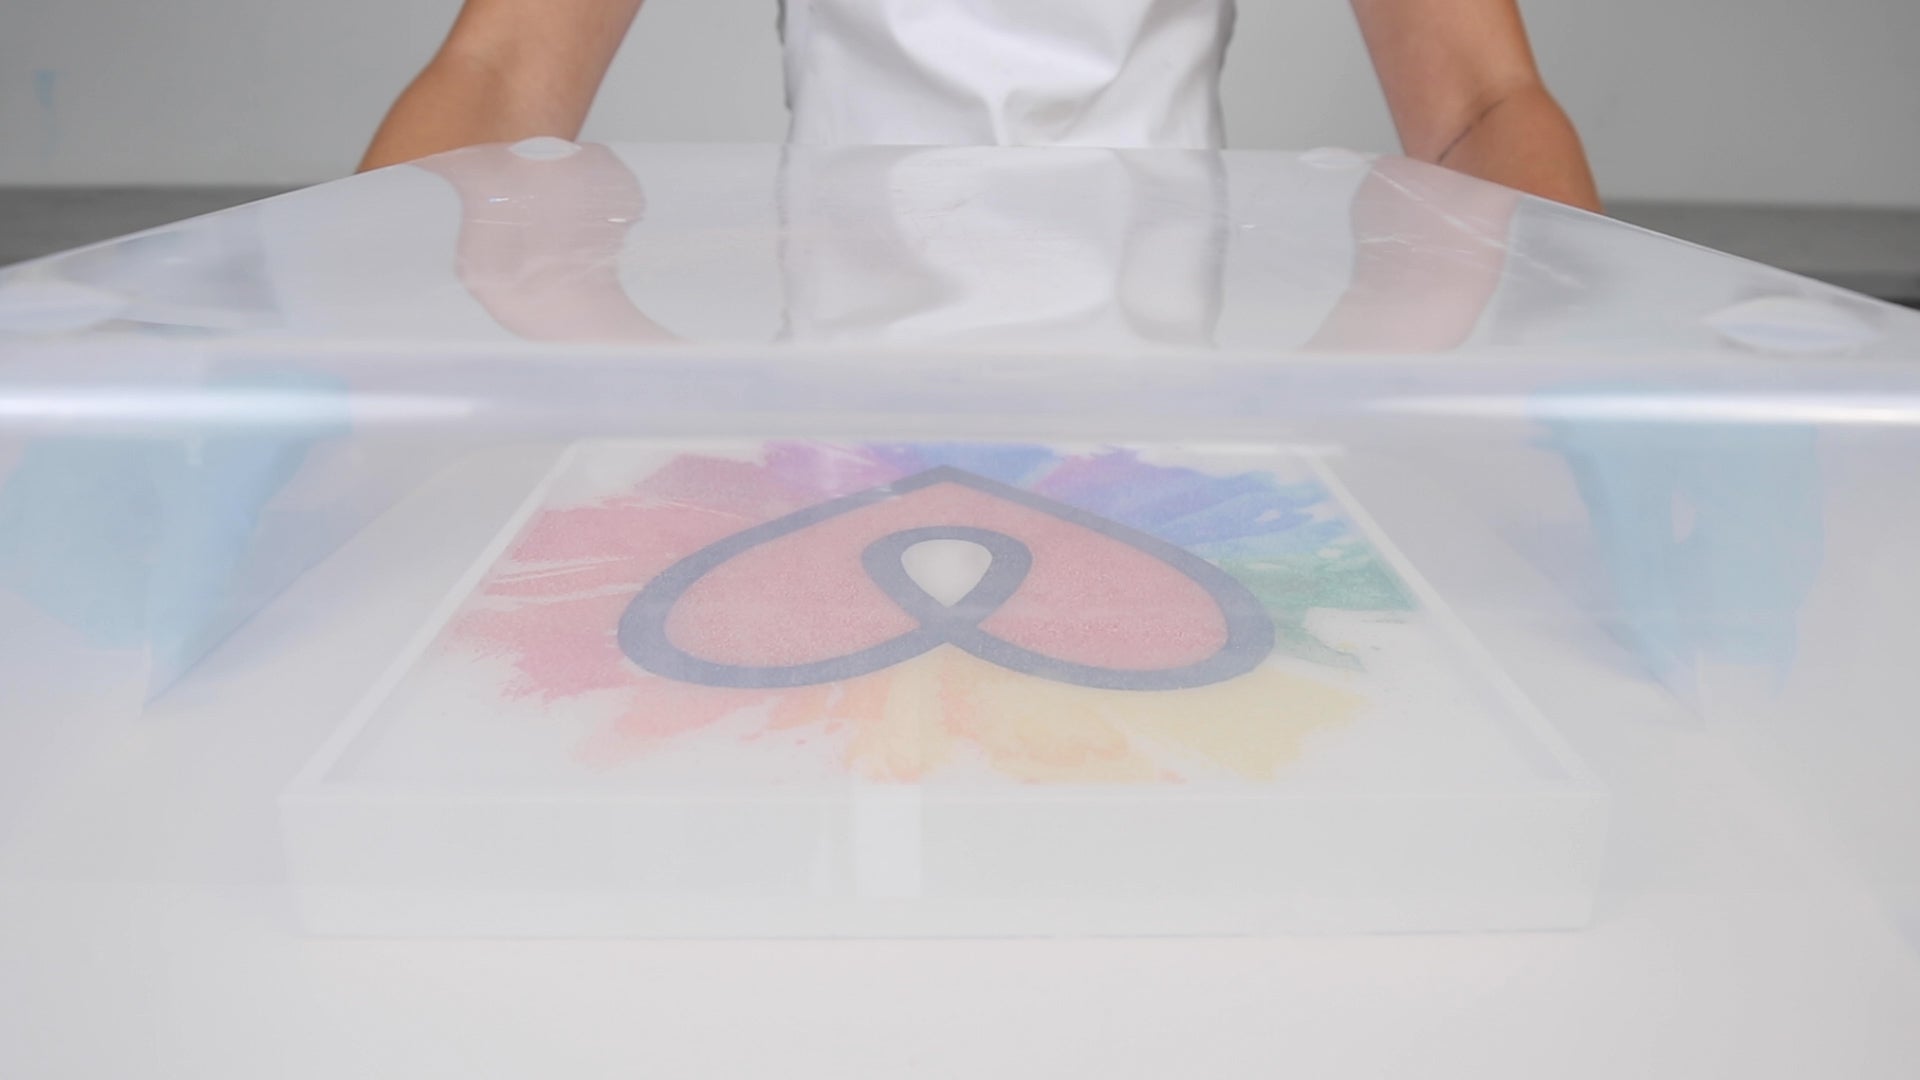
15. Alcohol and paper towel
Paper towel and isopropyl alcohol are essential for spills and clean up: wearing gloves, wipe as much wet resin off as you can with paper towel first, and then spritz your tools with a spray bottle of alcohol to remove remaining residue. Wipe dry with more paper towels, repeating this process until there is no residue left. Never allow resin to go down the sink! Once your tools are clean of resin residue, wash them with hot, soapy water and allow to dry before using them again.
⚠️TIP: Because alcohol breaks down resin, never use it to wipe resin from your hands, or your skin may end up absorbing it. Read more about safety precautions when working with resin here.
16. Hand Cleaner
Clean sticky hands with an exfoliant hand cleaner: if you happen to get ArtResin on your skin, wash it off promptly to prevent possible skin irritation. An exfoliant hand cleaner from the hardware store works very nicely. In a pinch, you can dry rub your hands with a small amount of poppyseeds or salt and some liquid soap to remove the resin, then rinse well with water.

Nice To Haves: Experimenting With Resin
Here's where you can let your creativity flow! Once you've got the basics down, you'll be ready to experiment with some new resin projects. Here a few ideas for beginners to get started with:
- use resin art silicone molds to make coasters and other small castings
- drop alcohol ink into resin to make petri dish art
- pour different shades of tinted resin to create flow art
- embed glass and crystals in tinted resin to create geode art
- layer shades of blue and white tinted resin to create ocean art
In order to make these projects, you'll need to add a few things to your resin toolbox:
17. Silicone Resin Art Molds
Silicone molds are perfect for casting small resin art projects: unlike a plastic mold which could rip or warp, a silicone mold is flexible and allows you to peel it back from the resin cast. It pops back into shape and you can use them over and over again. You can find molds in just about any shape and size but an easy project to get started with is making resin coasters in a mold like this one: you can add inclusions like beer caps, shells, decorative stones, gems, crystals and so much more. You can even make your own custom molds with Mold Making Material, a 2-part silicone product.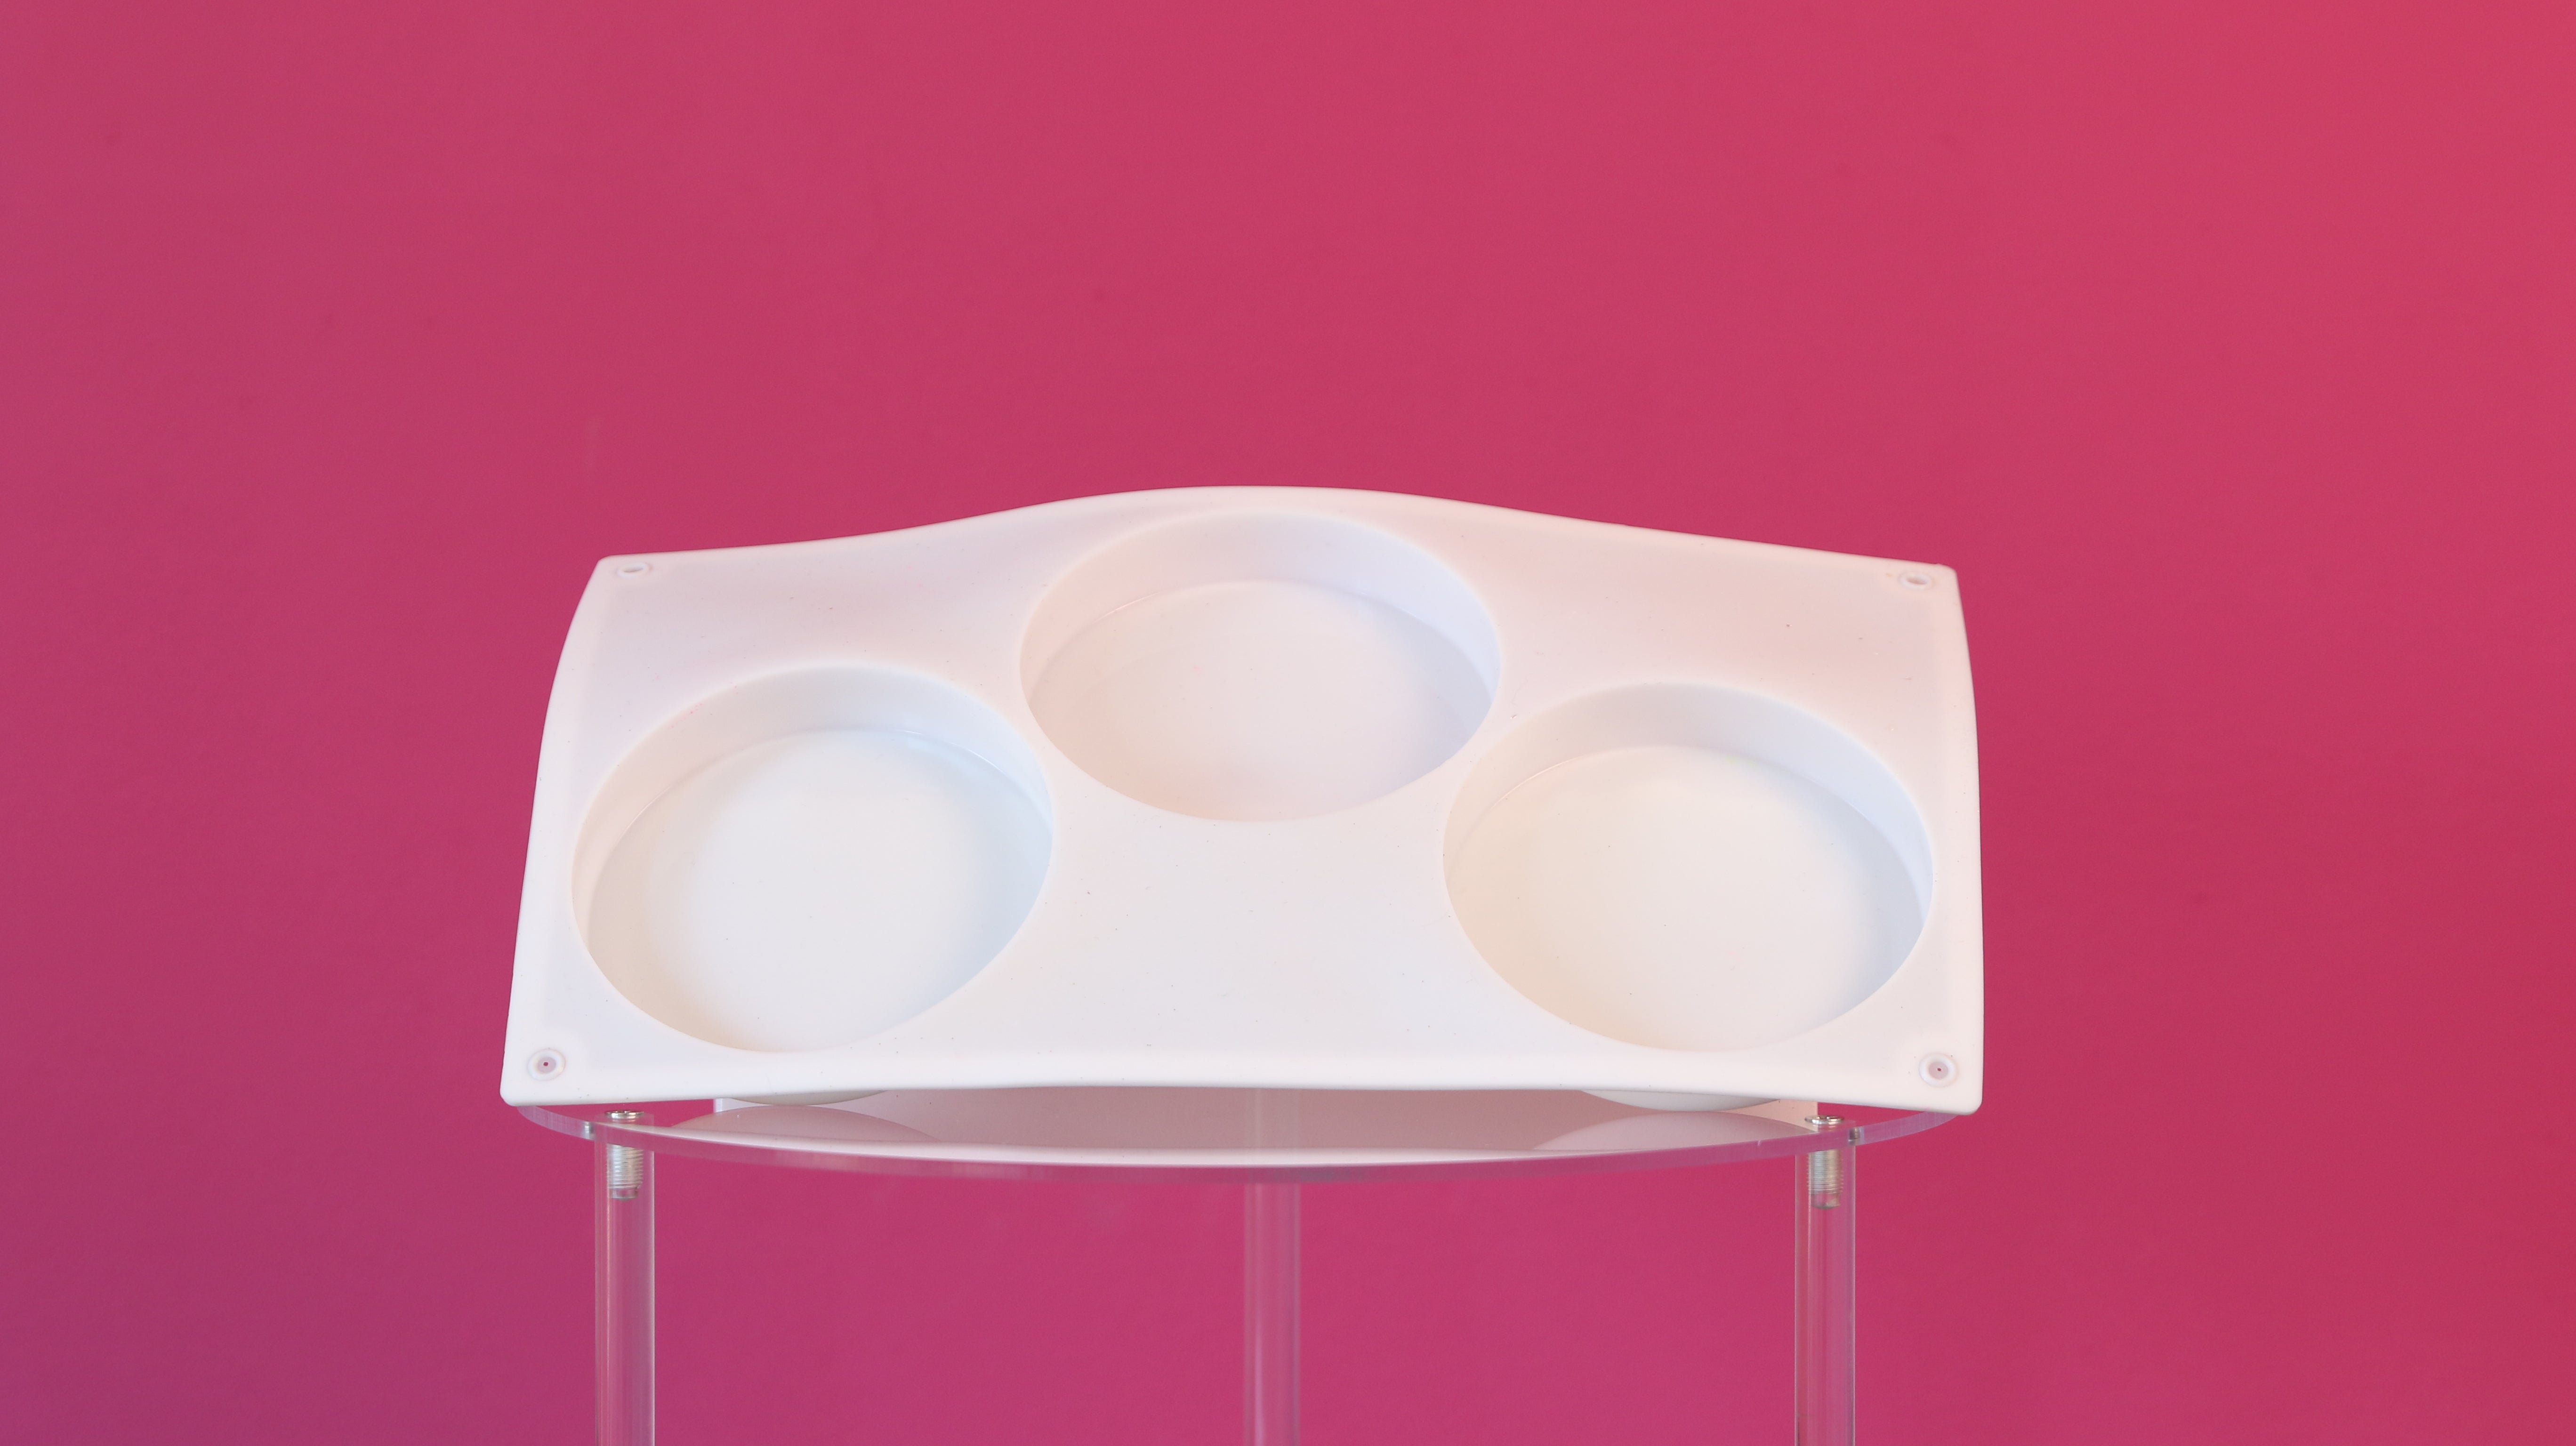


18. Alcohol Ink
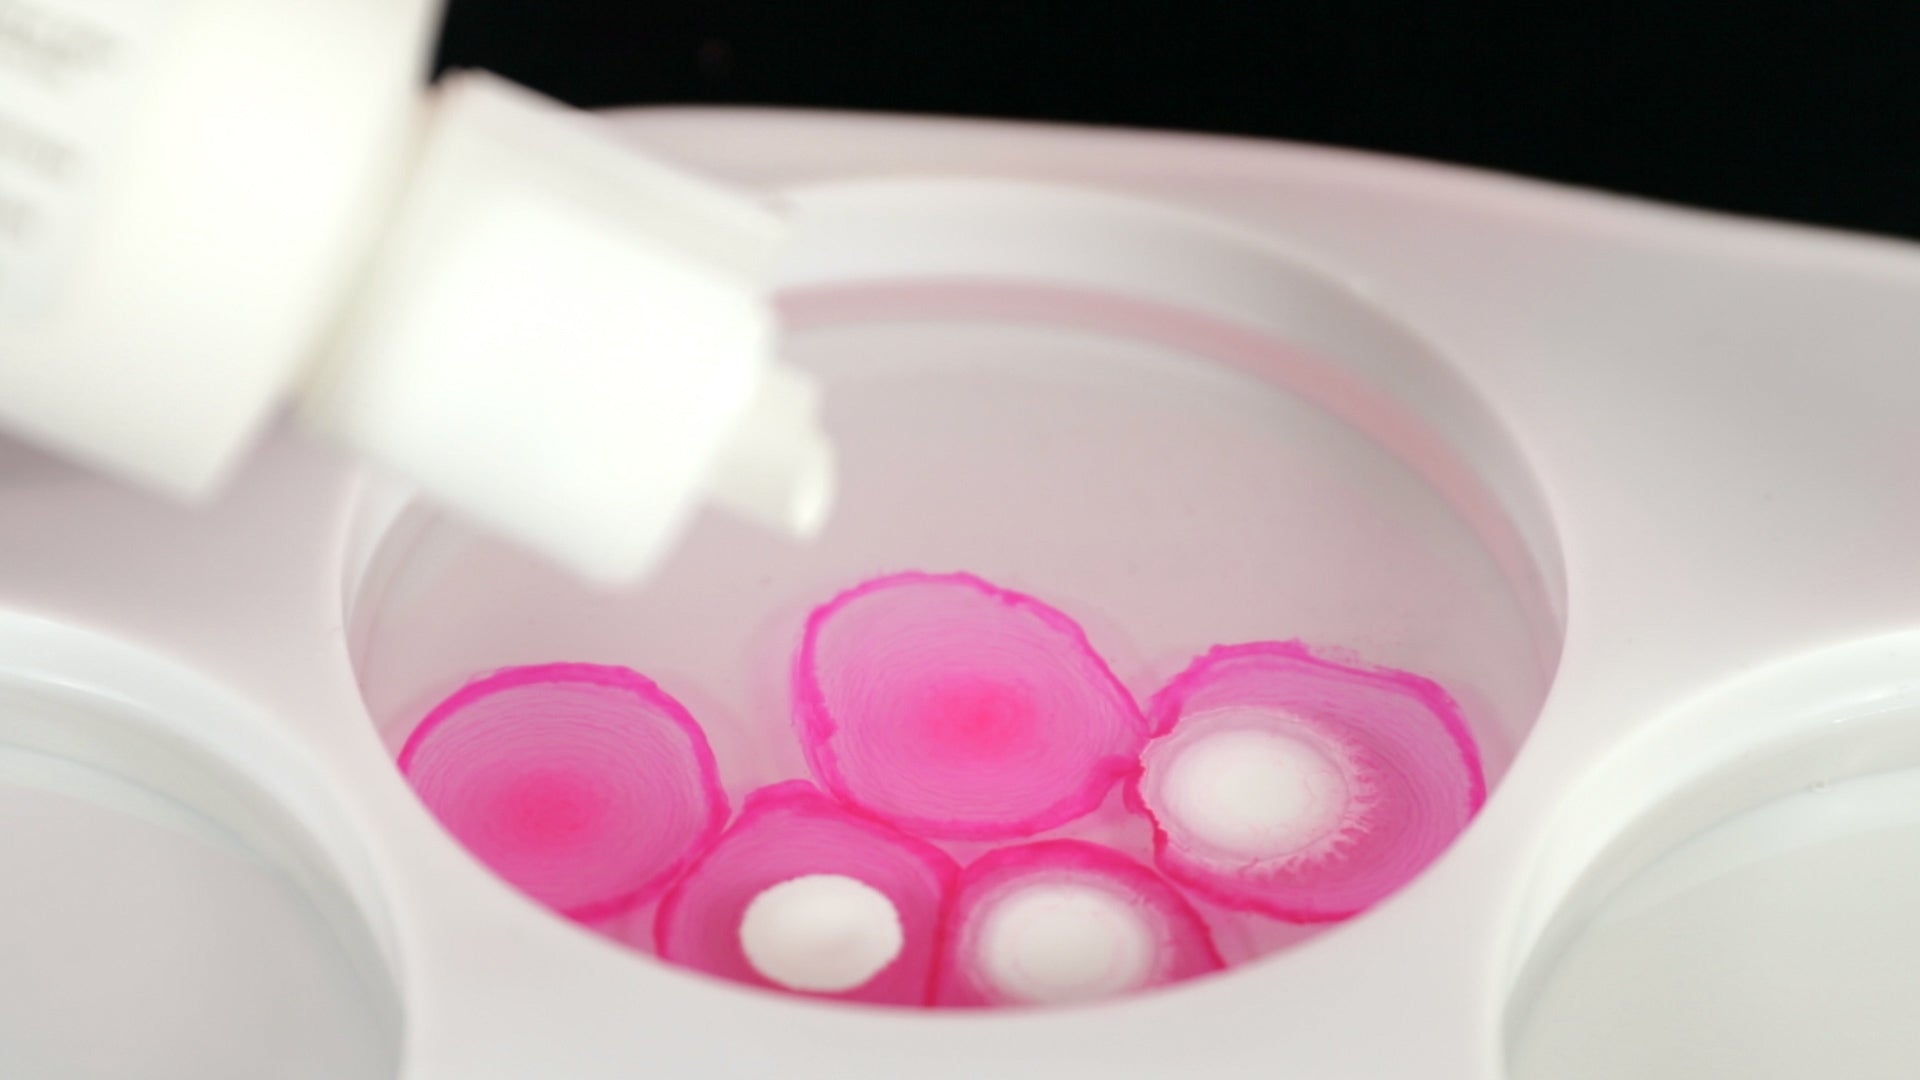
You can also use a silicone mold to create petri dish resin art. Just squeeze Alcohol Ink drops into mixed ArtResin in a silicone mold, followed by white Ink Sinker to push the colors down through the resin, creating tendrils, squiggles and other cool effects! :
⚠️ PLEASE NOTE: Alcohol ink is flammable, so do not use a torch when working with alcohol ink. Liquid ArtResin on its own is non-flammable, but this is not the case once alcohol ink is added. The alcohol in the ink will typically pop many of the resin bubbles, but if you need an extra boost, please use a heat gun.

19. Colorants
Epoxy resin looks beautiful when it’s tinted: for best results, always choose a colorant designed specifically for use with resin, like ResinTint liquid colorant. Stir the colorant into the mixture until the resin is one consistent color.
💡 TIP: Regardless of the colorant, a little goes a long way: don't add more than 6% of the total volume of mixed resin and hardener or your resin may not cure properly.

20. Plastic cups and stir sticks
Mix tinted resin using clear plastic drinking glasses and popsicle sticks: if your resin art project uses tinted resin, follow this process:
- Mix one big batch of resin in the amount the entire project requires.
- Portion out the resin into individual cups, according to the amount you need per color. Use a separate cup for each color.
- Drop the tint into the resin and mix thoroughly until the resin is one consistent hue. Start with less color than you think you need: you can always add more.
- Test the depth of color by pulling a little tinted resin up the side of the plastic cup - add a little more tint if necessary.


21. Wood Panels & Metal Trays
Strong, sturdy substrates best support the weight of resin: epoxy resin is heavy so wood panels are a great choice when working with resin. You can mount prints, photos, or even paint directly onto the panel and coat with resin for a modern looking finish. Cradled wood panels contain a lip to contain the resin and work very nicely when pouring tinted resin for flow art or ocean art. Metal serving trays also work very well for this purpose.
💡TIP: you can resin a stretched canvas, but the back needs to be reinforced with cardboard to prevent the fabric from sagging, which can cause the resin to pool in the centre as it cures.


22. Heat Gun & Hair Dryer
Use a heat gun on silicone molds and a hair dryer for flow art: though we almost always recommend using a flame torch, there are three exceptions:
- When working with alcohol ink: alcohol is flammable and a flame torch can pose a fire risk. The alcohol in the ink will typically pop many bubbles in resin on its own, but if you need an extra boost, please use a heat gun.
- When working with silicone molds: the intensity of a flame can risk damaging silicone, so a heat gun is a good alternative when working with molds.
-
For creating cells and lacing in flow art or ocean art: use a heat gun or hair dryer on low to gently push the layers of tinted resin, creating fun effects. Finish off with a quick pass of a flame torch to pop any bubbles.
💡 TIP: To learn more about this technique, see our blog How To Create Lacing and Cells in Resin.

23. Inclusions
Add gold leaf, crystals, decorative stones, charms, glitter to your work: inclusions is just a fancy way of describing all the fun little embellishments you can add to your resin work to create shine, interest, and texture. You can suspend flakes of gold leaf, you can add crushed glass or crystals to replicate geodes, you can add sparkle and depth with some glitter, you can create coasters with beer caps, shells, or dried flowers. There are about a million different things at the craft store you can add to resin: always make sure your inclusions are thoroughly dry and we advise testing first to make sure you get the result you're looking for.
Learn how to make your own resin crystals!

24. Sandpaper
From time to time, you may find your resin has cured with a bubble or a bit of dust or hair in it. Not to worry: this is easily fixed by pouring a fresh coat of resin. Before you do that, you’ll need to sand down the first coat, roughing it up so that the fresh resin has something to adhere to. Whether you use a piece of sandpaper, a sanding block or an electric sander, use a coarse sandpaper like 80 grit over the entire surface, paying particular attention to sand out the problem area. It’s going to look like a mess, but don’t worry. Once you wipe away all of the sanding dust and pour your fresh coat, it’ll look good as new.
What Safety Precautions Should A Beginner Take For Their First Project?
ArtResin is non-toxic when used as directed. However, it's essential to follow common-sense safety precautions when working with any epoxy resin. Keep in mind that safety requirements vary between different brands, so prioritize your safety by following these key guidelines:
- Consult the SDS: No matter what epoxy resin brand you're using, make sure to familiarize yourself with the Safety Data Sheet. The SDS is where you'll find answers to all of your safety questions, including information on the Personal Protective Equipment you need to wear, health risks to be aware of, first aid treatment and more. ArtResin's Safety Data Sheet can be found on our website.
- Personal Protective Equipment: The SDS will tell you what gear you need to wear when handling the product. For many resin brands on the market, wearing a respirator is a requirement. ArtResin, however, is a clean system, and gloves are the only requirement when using ArtResin as directed and in a well-ventilated area. Of course, the choice is yours to wear a respirator. We always recommend that the user takes whatever precaution they wish in order to have a comfortable experience.
- Ventilation: Work in a well-ventilated area, preferably one that has doors or windows that can open to help promote good air circulation.
- Resin Choice: Choose a safer resin, like ArtResin, that is clearly labelled as having "No VOCs". ArtResin does not contain solvents, fillers or other non-reactive ingredients that can get into the air and be breathed in.
- Temperature Control: Maintain the recommended temperature for curing. If the temperature is too high, it can trigger a flash cure, in which the resin becomes very hot, very quickly and cures instantly. For ArtResin, the recommended curing temperature is between 75-85F or 24-30C.
- Skin Protection: In addition to gloves, wear long sleeves and pants to protect your skin from a sticky mess and possible skin irritation. If the resin comes into contact with your skin, wash it off immediately. Do not use alcohol, acetone, vinegar, or hand sanitizer to remove resin from your skin - these are all solvents that will break down the resin and enable your skin to absorb it. Instead, use an exfoliant like pumice hand cleaner or a sugar/salt scrub to remove it, then wash with soapy water.
- Emergency Preparedness: Read the first aid treatments on the SDS for the epoxy resin brand you're using. For example, if ArtResin somehow comes in contact with your eyes, flush with water repeatedly for 15 minutes, do not rub and seek prompt medical attention. It's a good idea to work close to a sink or eye wash station.
- Allergic Reaction: If you find your skin is demonstrating a reaction to epoxy resin on your skin, discontinue use and seek prompt medical attention.
- Waste Disposal: Never pour leftover resin mixture down the drain. Instead, allow leftover resin to cure and the next day, throw it in the trash. Dispose of unmixed resin or hardener and PPE as per local regulations.
By following these safety tips and getting to know your epoxy resin, you'll keep yourself safe while being creative and having fun!
How Long Should I Wait Until Epoxy Resin Cures?
The time it takes for resin to harden can differ from brand to brand. If you follow the label instructions, ArtResin becomes dry to the touch within 24 hours and fully cures in 72 hours.
But, two things really matter for any epoxy resin to cure properly: the temperature and the humidity in the air.
It's best to work in a place that's slightly warmer than your typical room. For ArtResin, aim for a room temperature between 75 to 85°F (25 to 30°C). If it's colder, the resin will take longer to harden. If it's too hot, it might cure too quickly, which can cause a flash cure, or can lead to problems like bubbles, cracks, or surface imperfections.
You should also work in a spot with lower humidity. Too much moisture can make the resin cure with a cloudy finish or create amine blush, which is a greasy film on the resin's surface.
So, the ideal environment is not too hot, not too cold, and not too humid. This way, your resin projects will turn out just right.
What Techniques Should You Try?
In addition to coating artwork, resin art offers a wide range of creative options, with some techniques requiring specific colorants or molds.
To get ideas for your next resin art project, check out some resin art tutorials. In these videos, artists offer guidance on techniques like flow art, which involves pouring and layering different resin colors. Artists also share tips creating interesting effects like cells, which you can do by using a torch or blowing air onto wet resin.
Texture is another way to give resin art a special touch. Texture can be achieved by adding materials like sand, crushed shells, pebbles, crystals, or glass shards to the resin mix. Or, you can use a ragging technique with a gloved hand or rag to create texture on partly cured resin.
You can also add objects like shells or beads into the resin to enhance the visual appeal. Inclusions such as glitter, gold leaf, or other small items can also be added to the resin before it's poured onto the surface. This will help to make your art one-of-a-kind and unique.
We hope you found this helpful! The bottom line is, that when it comes to working with resin, having the right tools helps you to get a better result.
If you have questions or comments on any resin supplies, please leave them below - we're happy to answer!
Learn how to clean your resin tools and accessories the right way!
Ready to grab your supplies and get started?
We'll teach you everything your need to know in our ArtResin 101 video!
If you're ready to branch out and try something new, here are a few resin art tutorials to get you started with:
- How To Make A Resin Coaster
- How To Make Resin Geode Art
- How To Create Petri Dish Art
- How To Create Resin Flow Art
- How To Make Ocean Resin Art
If you're new to resin art, our handy guides below can help you get started:
- Resin Art Beginner's Guide
- Butane vs Propane Torch
- Top Resin Mistakes Made By Beginners
- What Is The Best Resin For Beginners?
- Top 10 Easy Resin Projects For Beginners
- How to Resin On Canvas For Beginners
- What Resin Art Sells The Best?
- Resin Art VS Acrylic Pour
- Casting Resin vs Epoxy Resin
- How To Make Money As An Artist
For more resin project ideas, please see our friend Jane Monteith's book The Ultimate Fluid Pouring & Painting Project Book, available on Amazon.com and Amazon.ca.
ArtResin: The Original Epoxy For Resin Art.


