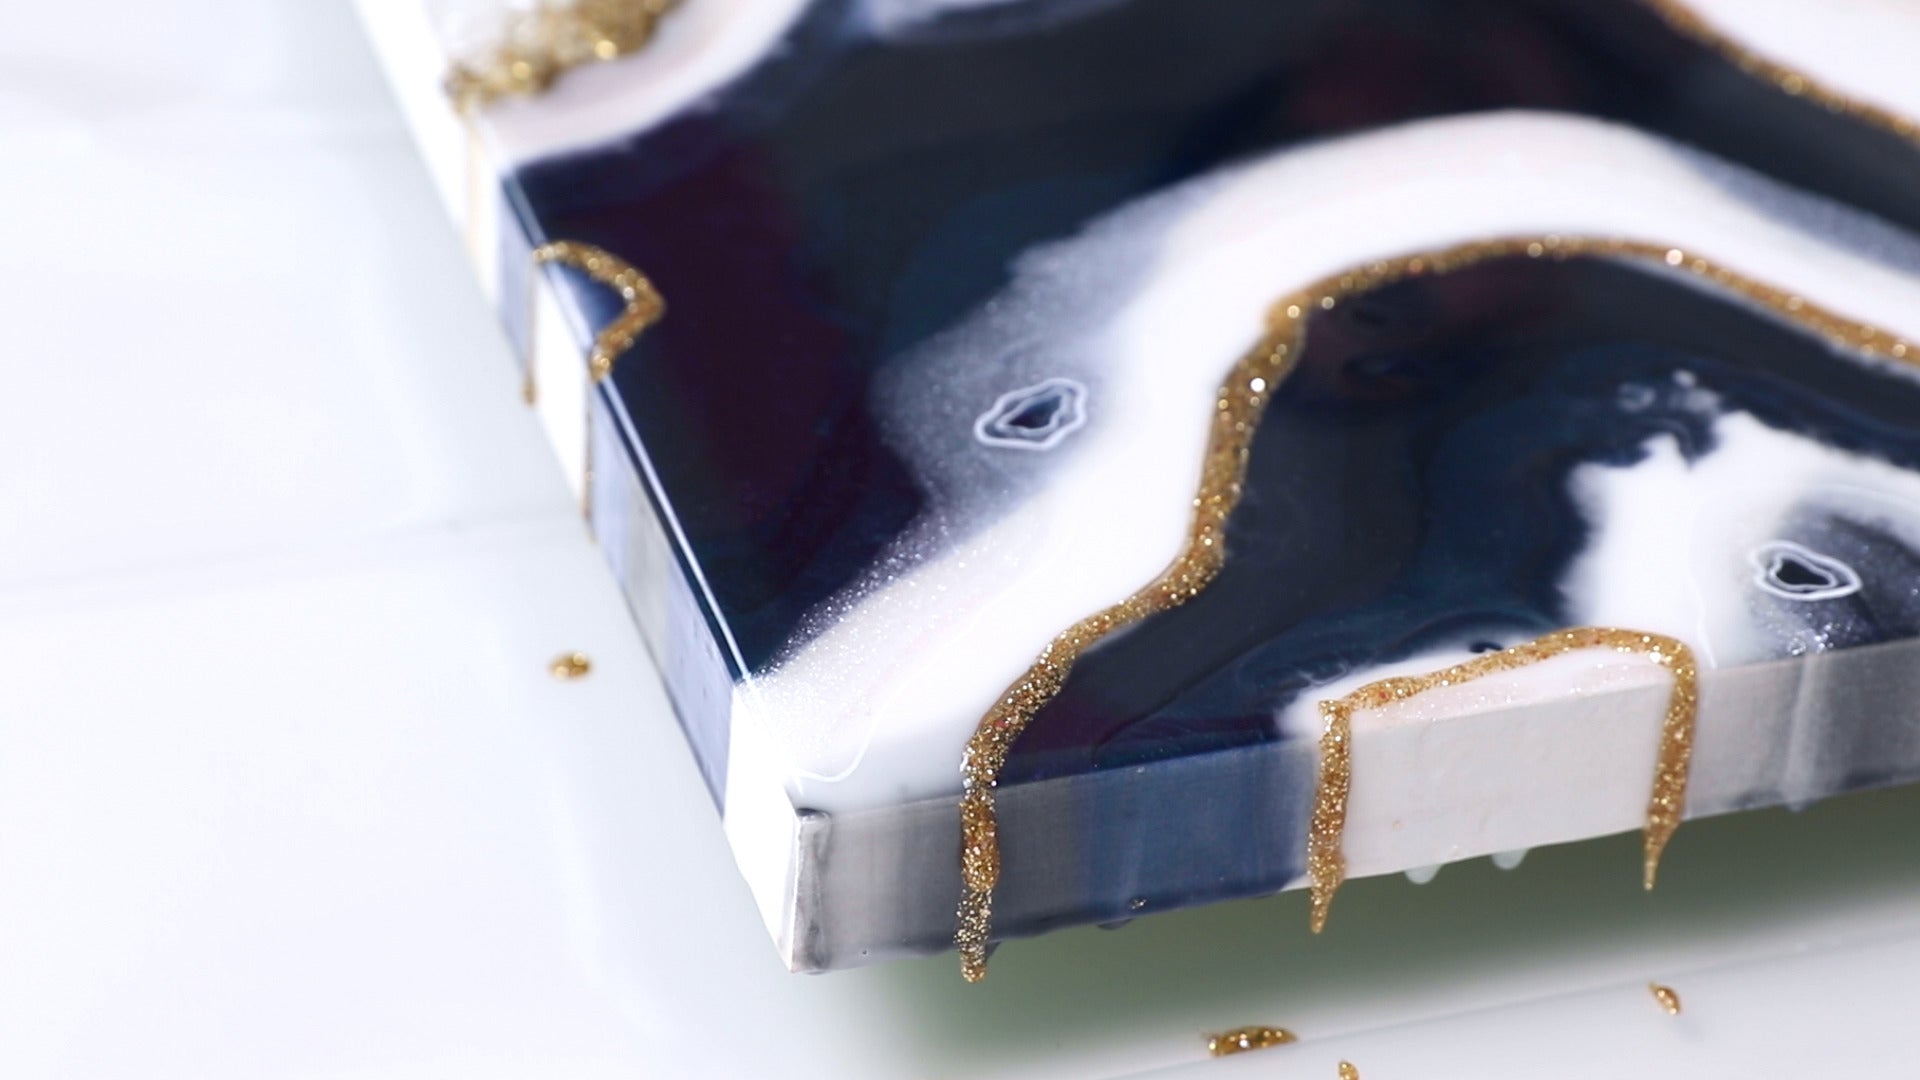
What Is Resin Geode Art?
Resin geode art uses crystals and tinted epoxy resin to recreate the look of natural geode and agate rock. Metallic pigments, glitter, glass and gemstones can be added to the resin to create sparkling color palettes and custom designs. This versatility makes it a popular art form for both beginners and advanced artists.
The beauty of resin art lies in the details: the color combinations, the layering of the resin, the crystal placement, the glitter embellishments and paint lines all work together to create an overall sense of depth, balance and symmetry.
Artist Shilpi Patel is back to share a few of the tips and techniques she uses to create these precise detail in her geode pieces including:
- How to place and adhere crystals, glass or semi-precious stones to a panel.
- How to easily tint glass crystals to the color of your choice.
- How to create thin and clean glitter lines.
- How to test if a paint color is compatible before applying it to your piece.
Start with Shilpi's quick tips and then move on to her full step-by-step resin geode tutorial: Shilpi's expertise and guidance will give you a clear understanding of geode art, inspiring you to create stunning resin geodes of your own.
Let's get started!
4 Resin Geode Art Tips:
Tip 1: How to place and adhere glass crystals
Place the crystals, glass, stones or rock you're planning to use on the wood panel, without the resin.

Play around with the shape using a flat paintbrush until you're happy with what you have in front of you.

Prepare a small amount of resin and hardener and drizzle it lightly over the crystals. Use a gloved finger to remove any excess that may seep out from under the crystals. Once the resin cures, the crystals will stay in place - it's as simple as that!

Tip 2: How to custom tint glass crystals using alcohol ink
If you can't find the specific shade of glass or stones that you need, use a little alcohol ink to custom tint them. Place clear crystals in a small plastic cup, add a few drops of alcohol ink and mix the color in thoroughly. A little goes a long way, so always start with less than you think you need.

Alcohol ink is a very effective colorant to tint glass crystals: it provides richly saturated color, is waterproof and dries quickly. 
Tip 3: How to create thin, clean glitter lines with a ziploc bag
Apply thin, clean glitter lines using a zip loc bag if you don't have access to a syringe. To start, place a small amount of clear resin into a small cup, and mix in the glitter of your choice.

Scrape the resin into a ziploc bag placed into a plastic cup, similar to how you might fill a cake decorating bag.

Snip a very small hole in the corner of the ziploc bag and you have your very own DIY piping bag. It works great for creating those nice, fine glitter lines! Remember, it's best to start with a thin line: the resin will spread out as it self-levels and your glitter line will get a little thicker. 


Tip 4: Keep the resin run-off scraps to test paint color
Hang on to those colorful scrap pieces of resin run-off from the curing process! They are a great way to test out paint colors (whether you're using an acrylic paint marker or paint and a brush) to see if they match the overall color scheme of your piece.
There are often some subtle differences between tints (especially different shades of white and gold). Testing out on the resin run-off is a great way to see which paint option best matches your piece, without committing! 
We hope you found these tips helpful and you feel inspired to create your own custom geode art.
To learn how to make a resin geode, from start to finish, please check out Shilpi's tutorial How To Resin Geode Art. To see more of Shilpi's geode work, follow her on Instagram: @shilpiscanvas
If you have any questions, please leave them in the comments below!
ArtResin: Made For Artists, By Artists.
ArtResin: Made For Artists, By Artists.


