Yes, it sure can!
Epoxy resin is so versatile when used with glass, and there are many different ways to create colorful works of art. For example, you can:
- Use resin as an adhesive for glass tiles, a grout for mosaics, or a top coat over shard glass to make sure sharp edges are not exposed.
- Use glass pieces to embellish resin art, adding sparkle and texture to projects such as geodes.
- Apply resin directly onto glass surfaces, such as mirrors, an old window pane, or wine glasses.
While resin adheres to glass, there are a few important factors to be aware of. In this blog, we'll explore a few project ideas and share the best practices for success when working with resin and glass.

(photo courtesy of @searoxx_art)
Does Resin Adhere To Glass?
Yes, resin adheres very well to glass due to its high surface energy. Surface energy refers to the attractive force between materials. Glass, being a high surface energy material, easily attracts resin and creates a strong bond. In contrast, low surface energy materials like plastic repel resin, which is why cured resin peels so easily from plastic tools and silicone molds.

Should Glass Be Used As a Resin Art Surface?
Mirror and glass sheets offer a smooth, flat surface ideal for pouring and layering resin. However, there are 3 important things to keep in mind:
1. Avoid exposing resin and glass pieces to temperature fluctuations:
While resin bonds well to glass, it's important to note they are two separate layers, each with its own thermal expansion rate. This means that resin and glass expand in warmer temperatures and contract in cooler temperatures at different rates. When subjected to extreme temperature swings, the two layers behave differently and issues can occur as a result. These may include glass shattering or the two layers separating, leading to air pockets or peeling resin. To prevent these problems:
- Keep your resin and glass pieces in temperature-controlled environments. Avoid areas prone to significant temperature fluctuations such as outdoor spaces, windows, exterior doors, or anywhere they will be exposed to heat or direct sunlight.
- If you're concerned about delamination, you can very lightly sand the glass with a fine grit sandpaper before applying resin. Sanding increases the surface area that the resin can adhere to and strengthens the bond.
-
Remember, resin and glass items are not dishwasher or microwave safe. Wash them gently by hand and avoid temperature swings, such as pouring a cold beverage into a warm glass.
2. Glass is fragile and resin is heavy.
With or without resin on it, glass can easily shatter, especially if there's a hairline fracture or weak spot. Be aware that resin adds significant weight so use extreme caution when handling or transporting resin and glass projects, especially large, heavy items such as tabletops. To reduce the risk of shattered glass:
- Opt for thick glass to better support the weight of the resin.
- Consider small projects, such as coasters, mason jars, wine glass bases, glass tiles, small wall mirrors etc.
- Ensure resin and glass art is supported by sturdy frames or bases.
3. Ensure glass is clean and dry before applying resin.
As with any surface, dust, dirt, grease, and other contaminants can prevent the resin from adhering properly.

Types of Art Pieces You Can Make With Resin On Glass
You can create glass and resin art in so many different ways! Here are a few project ideas to help you get started:
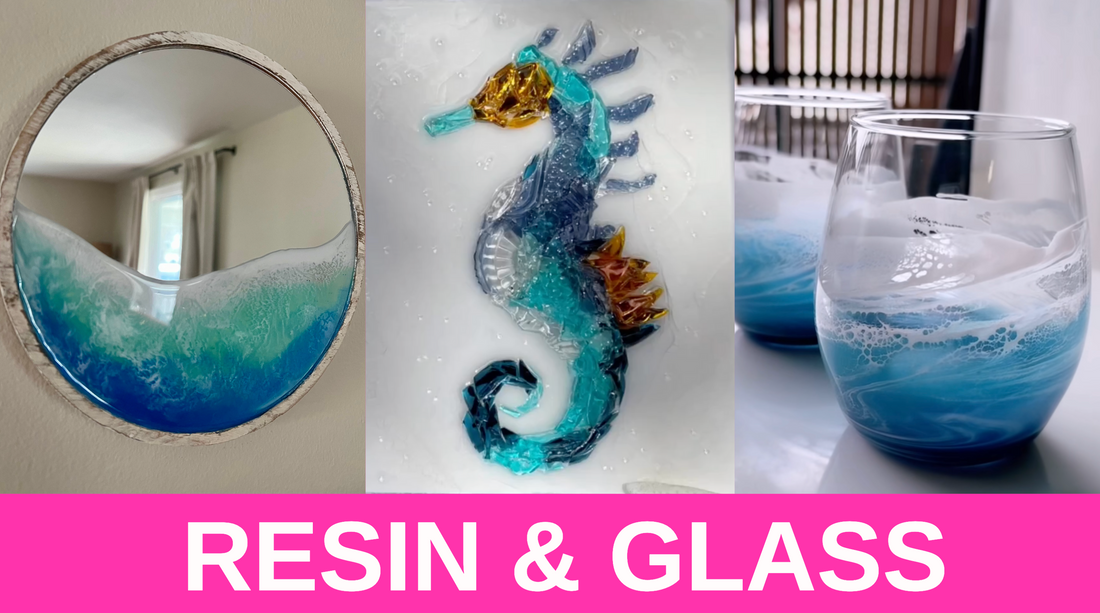
Wall Mirror with a tinted resin pour


Framed Resin & Glass Art
(photo courtesy of Glass Artz Creations Co.)
Wine Glasses with an ocean wave pour

(photo courtesy of @kaysartistryjp)
3D Mosaics made with glass shards on a wood panel
(photo courtesy of @searoxx_art)
Glass Jars with a tinted resin pour

(photo courtesy of @kaysartistryjp)
3D Painting with glass embellishments

(photo courtesy of @elizabeth_rhodes_studio)
Resin & Glass Collage on wood
(photo courtesy of @elizabeth_rhodes_studio)
Resin & Glass Geode Art made with fire glass and crushed glass

Stained Glass Art with tinted resin on an old window pane

Holiday Themed Mosaic using glass tiles on a mirror
How to Create Art with Resin and Glass
Choose Your Glass Surface
You can use many different types of glass for your project, from a simple glass coaster to a wall mirror, to a wine glass. If you're looking for something a little more unconventional, try working with an old window pane, a trinket dish, a tabletop, or a Mason jar.
Choose Your Embellishments
Depending on what you're making, you can embellish your art with tinted resin, glass tiles, glass shards, fire glass or crushed glass pieces.
Choose Your Resin
If you're not sure which resin to use, we recommend our ArtResin®️ epoxy resin. ArtResin is formulated especially for creative projects and provides a gorgeous, glossy finish to whatever you apply it to. It's easy to work with, so it's perfect for beginners, and its non-toxic formula and low-odor means it can be safely used at home.
Before you start working with resin, make sure you have all the necessary supplies on hand. Check out some of our essential tool recommendations, including the Artist's Torch and our Accessory Kit that includes gloves, resin stands, a reusable stir stick and spreader. And you can see the complete list of essentials in our blog Resin Art Materials & Supplies.
Prepare The Resin
Next, assuming you have all the necessary safety equipment, accurately measure equal parts of ArtResin's resin and hardener by volume and stir slowly for 3 minutes, scraping the sides and bottom of the container as you mix. Once the resin is mixed, portion it out into smaller cups if you plant to add colorants. Then, it's time to start pouring! For best results, pour the resin slowly and evenly onto the glass surface. Use a flame torch to eliminate bubbles.
Let Your Resin Cure
After you have added all your desired embellishments, it's time to protect your work from dust with a dust cover, and then let your resin cure. The resin will be dry to the touch at the 24 hour mark. Wall art can be hung at this point,but it's best to allow functional art pieces to fully cure for 3 days before putting them to use. This will give resin time to harden properly and avoid any damage to your artwork.

Tips For Making Resin Art With Glass
Ready to try making resin art with glass? Here are a few tips to keep in mind:
💡 Tip 1: Make sure that glass is dry and free of dust, fingerprints, or any other contaminants. Not only will these show up in your finished resin art, but could prevent the resin from adhering properly.
💡 Tip 2: If you're worried about the resin separating, very lightly sand the glass to help the resin bond better. This will create more surface area for the resin to adhere to.
💡 Tip 3: Use a small amount of resin to adhere loose glass pieces such as fire glass, tiles or shards. You can adhere the glass pieces individually or you can drizzle resin overtop of your design; the resin will make its way throughout the glass pieces and to the surface. Once cured, the glass pieces will be secure.
💡 Tip 4: Use a flame torch to remove bubbles from the resin. A torch will remove bubbles efficiently without blowing hot air or dust over your work like a heat gun can.
💡 Tip 5: Allow the resin to fully cure for 72 hours before handling your finished piece. This will give resin time to harden properly and avoid any damage to your artwork.
💡 Tip 6: Use extreme care when handling resin and glass art. Place your item indoors, in a temperature controlled environment, to prevent the glass from shattering or the resin layer from separating.
We hope you feel inspired to create something new, in a totally different medium, by incorporating glass into your resin art projects!
And, if you're looking for creative project ideas and tips for working with resin, check out our blog for help and inspiration.
We can't wait to see what you've created!
ArtResin: Made For Artists, By Artists.
