How To Clean Epoxy Resin Mixing Cups & Containers
So, you've resined your artwork, and you have a bit of leftover resin in your mixing containers & cups. What should you do next?
This guide covers everything you need to know about cleaning resin cups—the best practices, expert tips, and must-have materials. Whether you’re a seasoned resin artist or just getting started, these tips will help you keep your tools in great shape and make clean-up a breeze!
The Importance of Clean Mixing Cups
Cleaning your mixing cups properly is important for many reasons including:
- Preventing the contamination of future resin projects.
- Helping to maintain a clean and safe working environment.
- Reducing costs by extending the life of your mixing cups.
What do you do with leftover resin and how do you clean the cups?
At ArtResin, we have 2 favorite methods for cleaning our mixing containers. Plus, we've got some helpful tips on what to do (and what not to do!) to make resin cleanup quick and easy.
💡 TIP: Use plastic containers to mix your epoxy resin. Epoxy resin doesn't stick to plastic, making these mixing containers easy to clean and reusable.
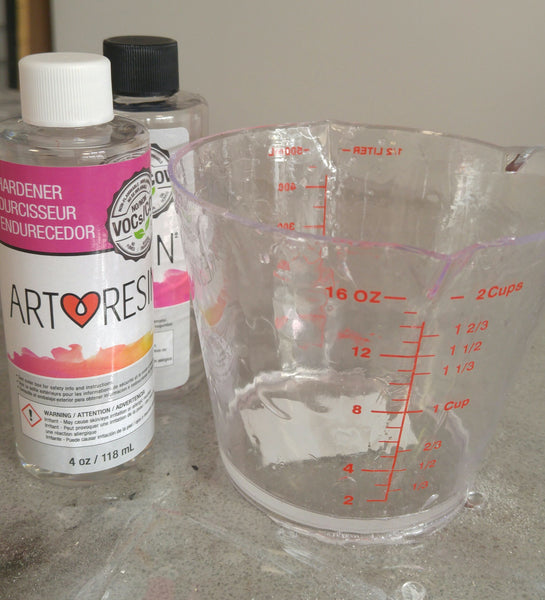
Here are ArtResin's 2 favorite ways to clean epoxy resin mixing containers:
Method 1: Wipe Resin Out Wet Resin
Step 1: Clean your mixing cup while the resin is wet.
Step 1: Wearing gloves, wipe out as much as you can from the sides and bottom of the mixing container with paper towel. The soiled paper towel can be thrown in the trash.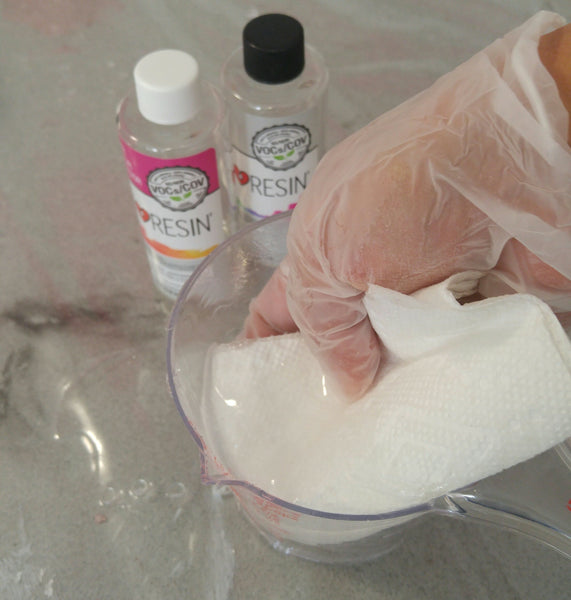
Step 2: Repeat the process
Repeat as necessary to wipe out as much resin as you can.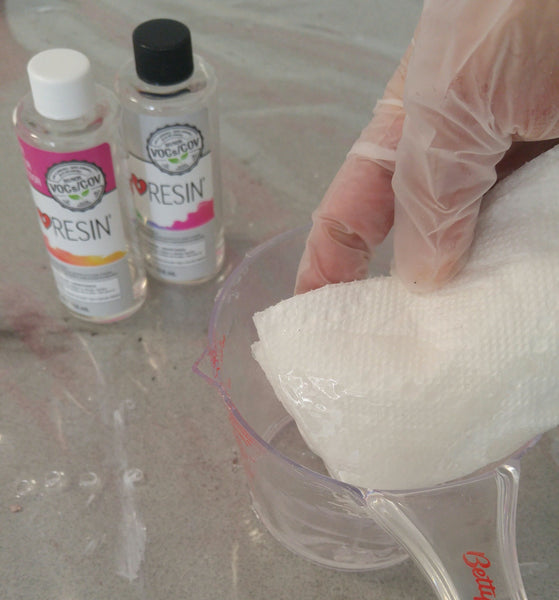
Step 3: Wipe With Isopropyl Alcohol Or Acetone
Pour a little isopropyl alcohol or acetone onto a paper towel and use it to wipe away any remaining resin from your mixing container. Both alcohol and acetone are solvents that break down resin residue, making it easy to wipe off.
💡 TIP: It's important to wipe the container with rubbing alcohol or acetone while the resin is still wet. Once the resin has cured, it's much more difficult. You will need to soak the container in acetone or rubbing alcohol.


💡 TIP: A spray bottle makes it easy to apply rubbing alcohol!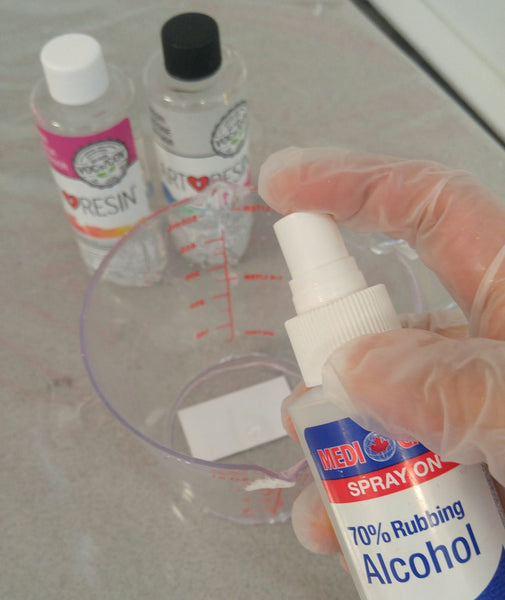
Step 3: Wipe the mixing containers until clean
With gloves on, thoroughly wipe the mixing container clean. Spray again as needed until all the resin is removed.
💡 TIP: Always wear gloves when using alcohol or acetone to clean up resin. Alcohol breaks down epoxy and dries out your skin. Together, this makes it easier for epoxy to penetrate your skin—something you definitely want to avoid.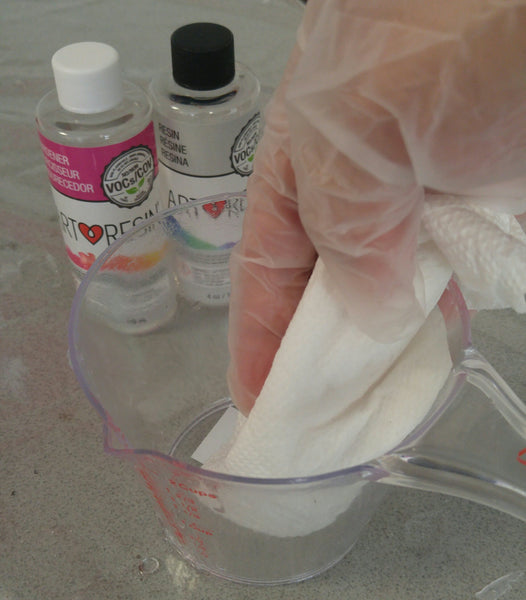
Step 4: Wash the Mixing Containers in Hot, Soapy Water
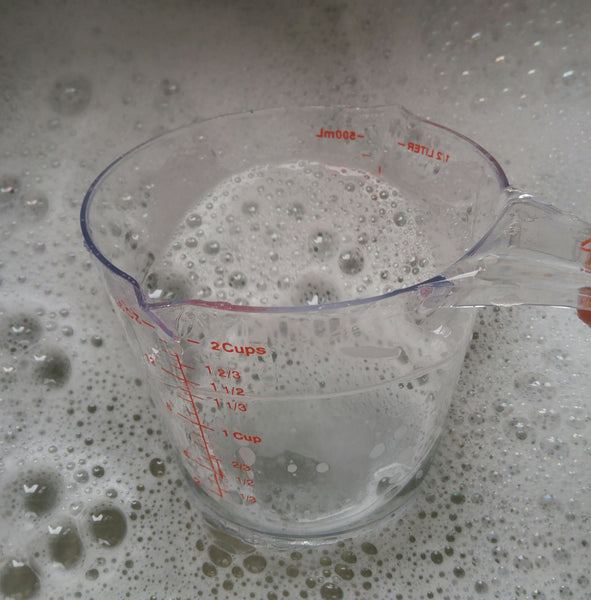
Once all traces of resin have been removed, wash the mixing container in hot, soapy water. Let it dry, and it’ll be ready for next time.
Method 2: Dry & Peel
This is the easiest method and our favorite here at the ArtResin studio because it creates far less waste.
Step 1: Tip The Mixing Cup Upside Down
After pouring the resin onto your artwork, simply tip your mixing container upside down on a work surface protected with parchment paper, wax paper, a silicone mat, or a vinyl shower curtain.
💡 TIP: Resin won’t stick to surfaces designed to repel water. That’s why we line our work surfaces with an inexpensive vinyl shower curtain. Let the tools dry directly on the vinyl, and the next day, the resin will peel right off.
Once you tip the mixing container over, the excess resin will pool onto the work surface, like this:
Step 2: Cure for 24 Hours and Peel Off the Dried Resin
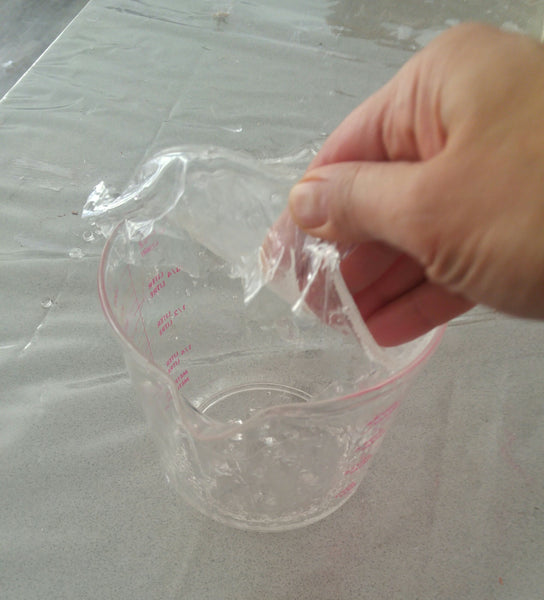
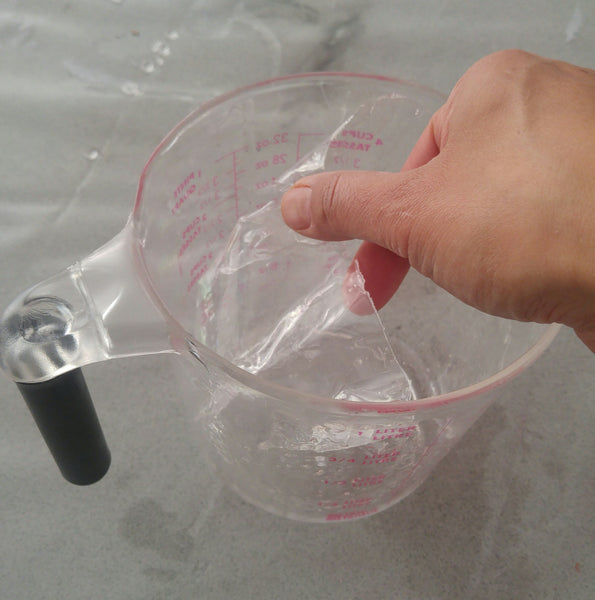
Allow the resin to dry overnight. The next day, peel the cup away from the work surface, then pull the dried resin from the plastic mixing container.
Step 3: Dispose of the Cured Resin Pieces in the Trash
Toss the peeled resin pieces into the trash. For any bits stuck to the cup, use tweezers or tape to remove them.
The best plastic mixing cup for releasing cured resin is made of polypropylene—the flexible, frosted type of plastic with the number 5 recycling icon.
Easy!! 👍 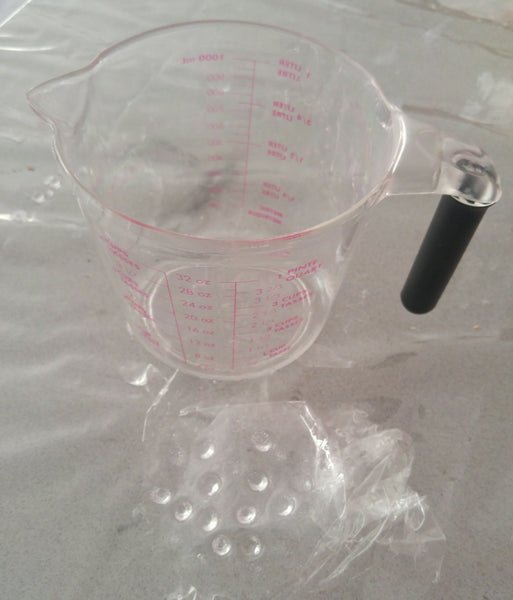
⚠️ IMPORTANT: NEVER pour leftover resin down the drain or wash a mixing container in the sink if it still has resin in it. Keep wet cups far away from the sink and drain until all traces of resin have been removed. If resin gets into the sink or drain, it will cure, potentially clogging the pipes and creating a mess that could be very costly to repair.
Cleaning Methods: Pros & Cons
|
Method |
Description |
Pros |
Cons |
|
Wipe Out Wet Resin |
Use paper towels to remove as much wet resin as possible immediately after use. This prevents resin from curing and sticking to the cup. |
Quick and easy |
Will remove wet resin, but will not remove resin residue; dry paper towel will stick to the cup and make a mess. |
|
Use Rubbing Alcohol |
Spray 99% isopropyl alcohol into the cup and use baby wipes or paper towels to remove the resin. Repeat until all traces of resin are gone. |
|
Requires immediate cleaning; uses a lot of paper towels/wipes |
|
Acetone Cleaning |
For stubborn resin residue, apply acetone to the cup and scrub with a paper towel. Acetone is a strong solvent that can dissolve cured resin. |
Highly effective |
Strong odor; can degrade plastic cups |
|
Let Resin Cure |
Allow the resin to fully cure in the cup. Once hardened, flex the cup to break the resin |
Less messy; no waste |
Time-consuming. This method only works with cups made of polypropylene plastic or silicone. |
|
Soap and Water |
Wash the cups with quality soap and water. Flip them upside down and allow them to air dry on a towel. Best for final cleaning after removing all traces of resin. |
Simple and effective |
Only recommended as a final step; DO NOT use this method to remove resin |
Common Mistakes to Avoid
- Cleaning resin cups with bare hands - always wear gloves to protect your skin.
- Washing cups in the sink without removing all traces of resin. Never let resin go down the drain.
- Not using alcohol to remove all traces of sticky residue.
- Letting resin cure in cups without turning them upside down to drain.
Keeping your epoxy resin mixing cups clean is key to making sure your tools last and perform well. With the right approach and materials, your cups will stay in great shape, ready for your next resin project.
Remember, the key to effective cleaning is to act quickly and use the right tools for the job.
Here's a quick video on cleaning out your resin mixing containers ...
Questions or Tips?
Let us know in the comments below.
Do you want to learn more about how to clean up epoxy resin? Check out our guides:
- How To Clean Epoxy Resin Artwork
- How To Clean Cured Resin
- How To Clean Resin From Your Hands
- How To Clean Up Epoxy Resin
ArtResin: Made For Artists, By Artists.


